Your Business Manager is a container that holds all your Facebook assets and allows you to give access to collaborators.
1. Go to: business.facebook.com/overview
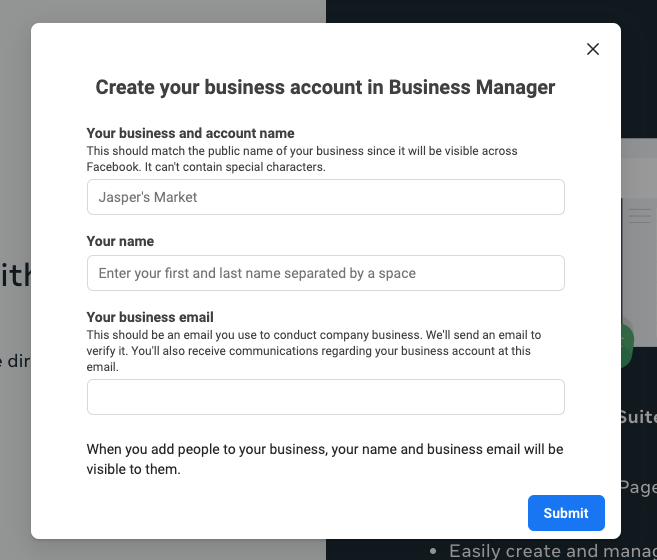
2. Click “Create Account” 
3. Enter in all information
- Business Name
- Your Name
- Business Email
4. Click Submit
5. You’ll be sent an email that you’ll need to confirm to receive full access to the account
Add Your Business Page
*Once you click the link in your email to confirm your email address, you’ll be sent back to the Business Manager.
1. Go to ”Business Settings” by clicking the button that is a square made of dots, and click “Business Settings” 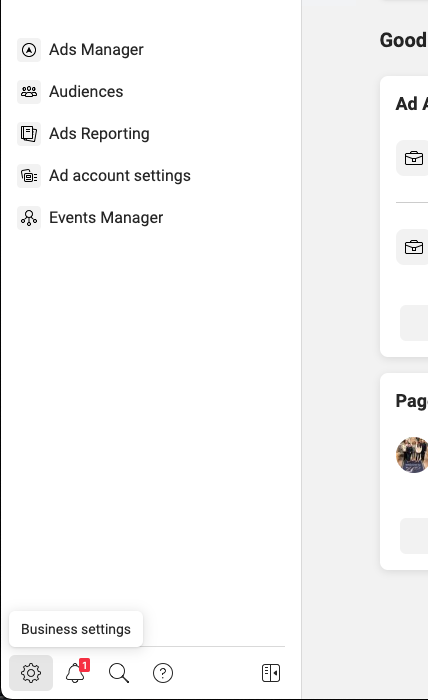
2. Navigate to pages on the left side of the page
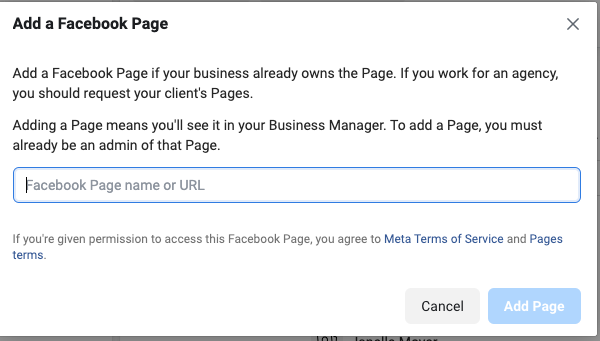
3. Click “Add” then "Add a Page"
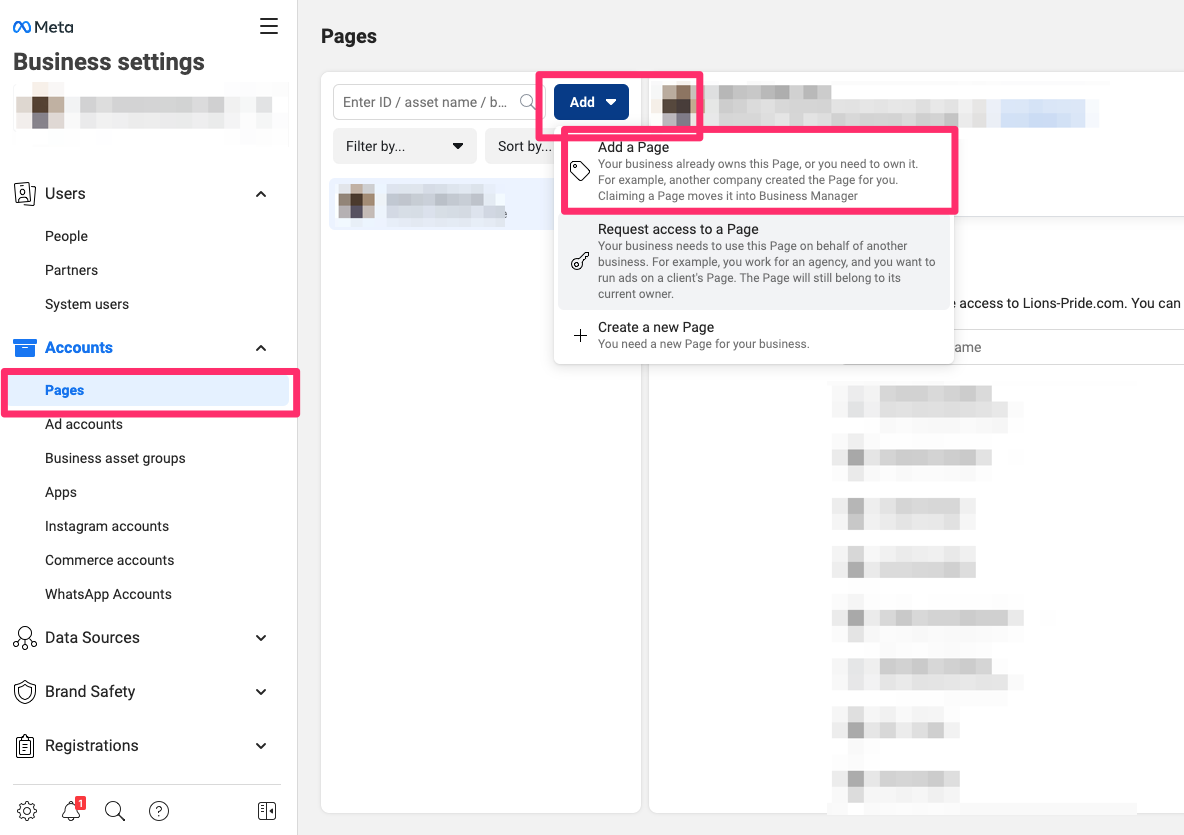
4. Type in your business page and select it from the drop-down.
5. Click “Add Page”
6. Once selected, you’ll get a confirmation saying your request has been approved.
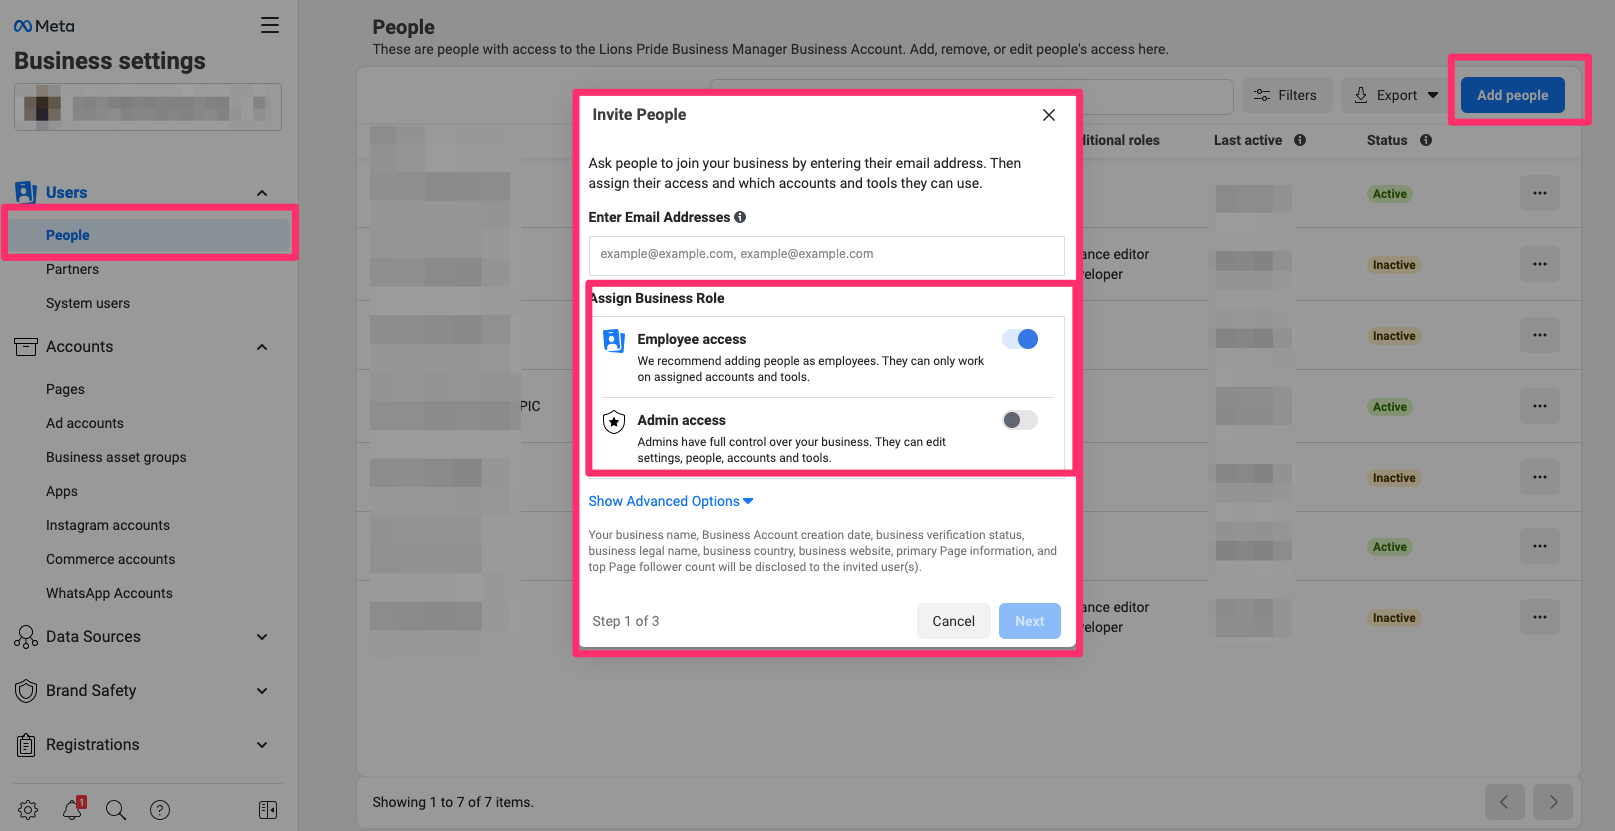
Add Users to Your Business Manager
Now that you have created your account, you have Admin access which allows you to grant others access to your assets within Business Manager. To give others access:
1. Click ”People” on the left menu bar
2. Click “Add”
3. Enter in the email of the person you want to invite and select if you want to give that user “Employee Access” or “Admin Access”