
Adding UPS Shipping to WooCommerce allows you to ship with UPS rates directly from your WordPress site.
1. SETTING UP UPS PLUGIN
- You first need to ensure that you have the WooCommerce UPS Shipping Plug-in Installed. Once installed, click “settings” to edit the settings.
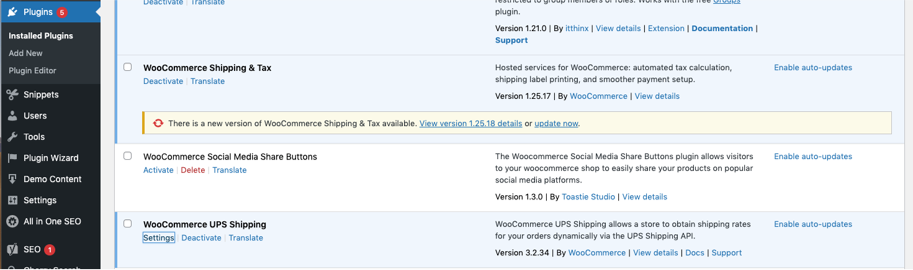
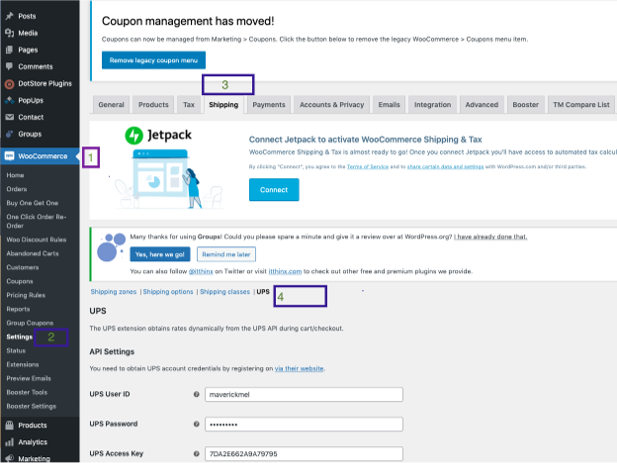
- You can also reach this screen by going to WooCommerce → Settings → Shipping → UPS
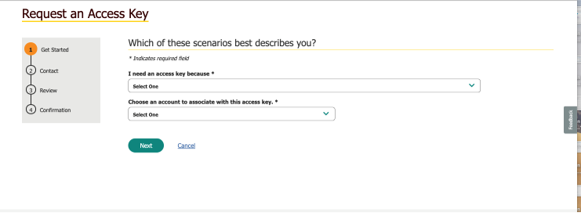
2. REQUESTING API ACCESS KEY
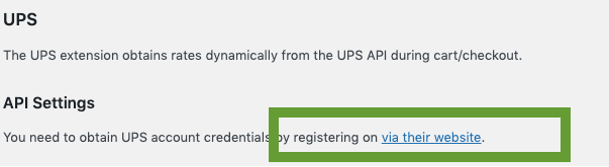
- Once in the settings for the UPS Shipping Plugin, you will need to request API credentials. Click “via their website.”
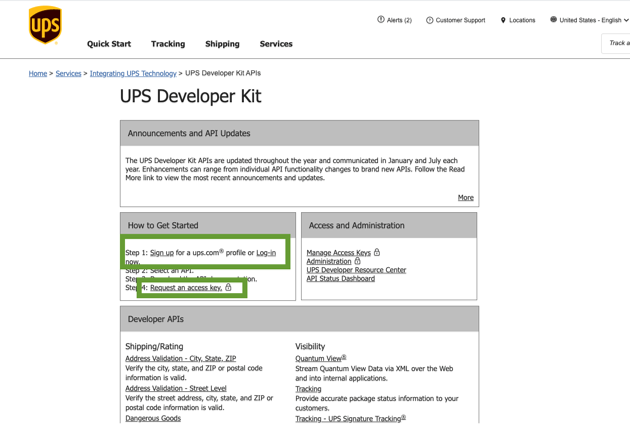
- If you have a UPS account created, skip to request an access key
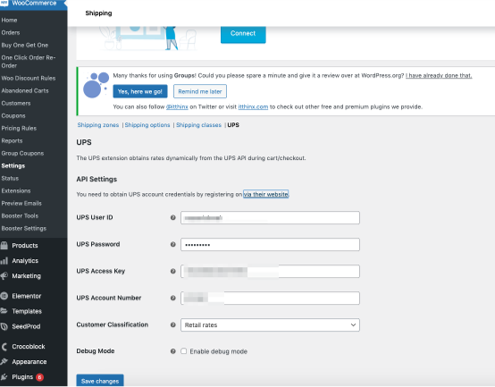
3. FINISHING SET UP IN WOO COMMERCE
- Create an Access Key and gather your UPS Shipping Account number.
- Enter your Access Key and account credentials into WooCommerce.
4. TURN ON UPS AS SHIPPING ZONE
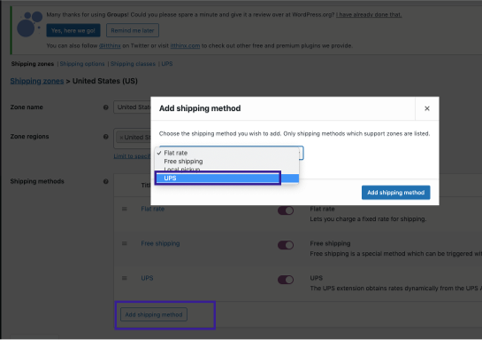
- Go to Shipping Zones and edit United States
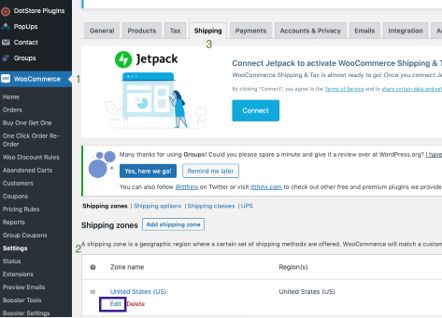
- Add UPS shipping method and enable it
5. UPDATE UPS DATA
- Edit the shipping zone settings

- Configure origin address and rate options

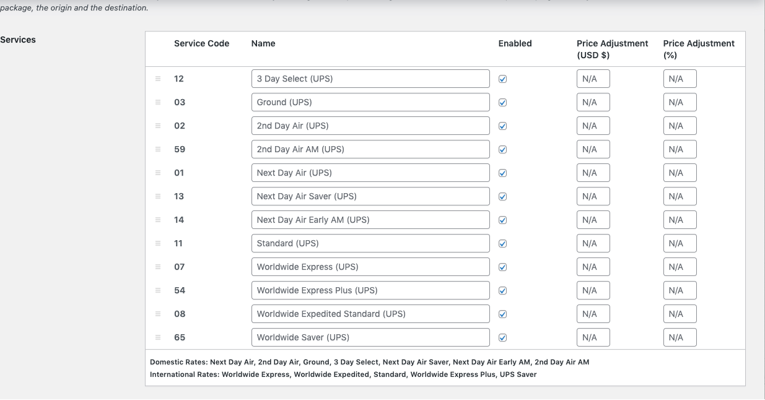
6. UPDATE SHIPPING METHODS AND PRICING
- Modify available shipping methods and pricing adjustments
7. CREATE BOXES
- Choose parcel packing method

- Create custom box dimensions

8. UPDATE PRODUCT DIMENSIONS
- Set product dimensions in WooCommerce products tab
- UPS will calculate required boxes automatically

- If you do not set custom dimensions for your products, WooCommerce will automatically make the dimensions the exact size of your boxes. You must set the product dimensions.